Writing a blog post
This guide is for community members wanting to announce project updates on the Pine64 community blog.
Setup
You should first prepare a fork of the pine64 website repository on GitHub, then clone it.
git clone https://github.com/USERNAME/website.git
Once the repository is cloned, you can open up the template folder at /content/blog/template and copy template_update.txt to /content/blog as a .md file.
august_2025_pt2_factory_image.md and december_2020_pinephone_release.md.Blog post details
Once the template is copied, you can start editing the blog post details. Below is an example of a blog posts basic layout with some explanations of each option does (with explanation after “//”):
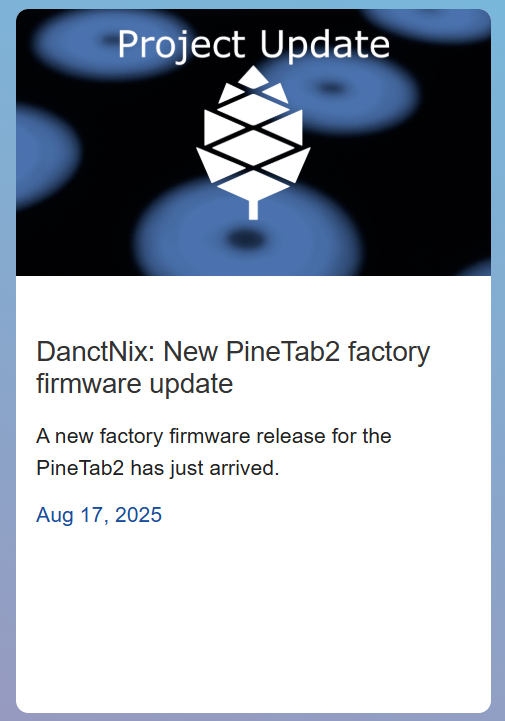
1title: "PROJECT update: TAGLINE" // The title for the blog post.
2date: "yyyy-mm-dd" // Date of publishing.
3authors: ["Name of author"] // Author(s) of the blog post.
4categories:
5 - "community"
6 - "news"
7 - "pine64-community"
8tags:
9 - "tag_1" // E. g. "pinetab2", "pinenote"
10 - "tag_2"
11images: // Cover art (preview and embedded)
12 - "/blog/images/pine64_banners/pine64_blue.png"
13summary: "Summary about the contents"
14 // Blog post summary, used in RSS and blog post list
15
16---
17
18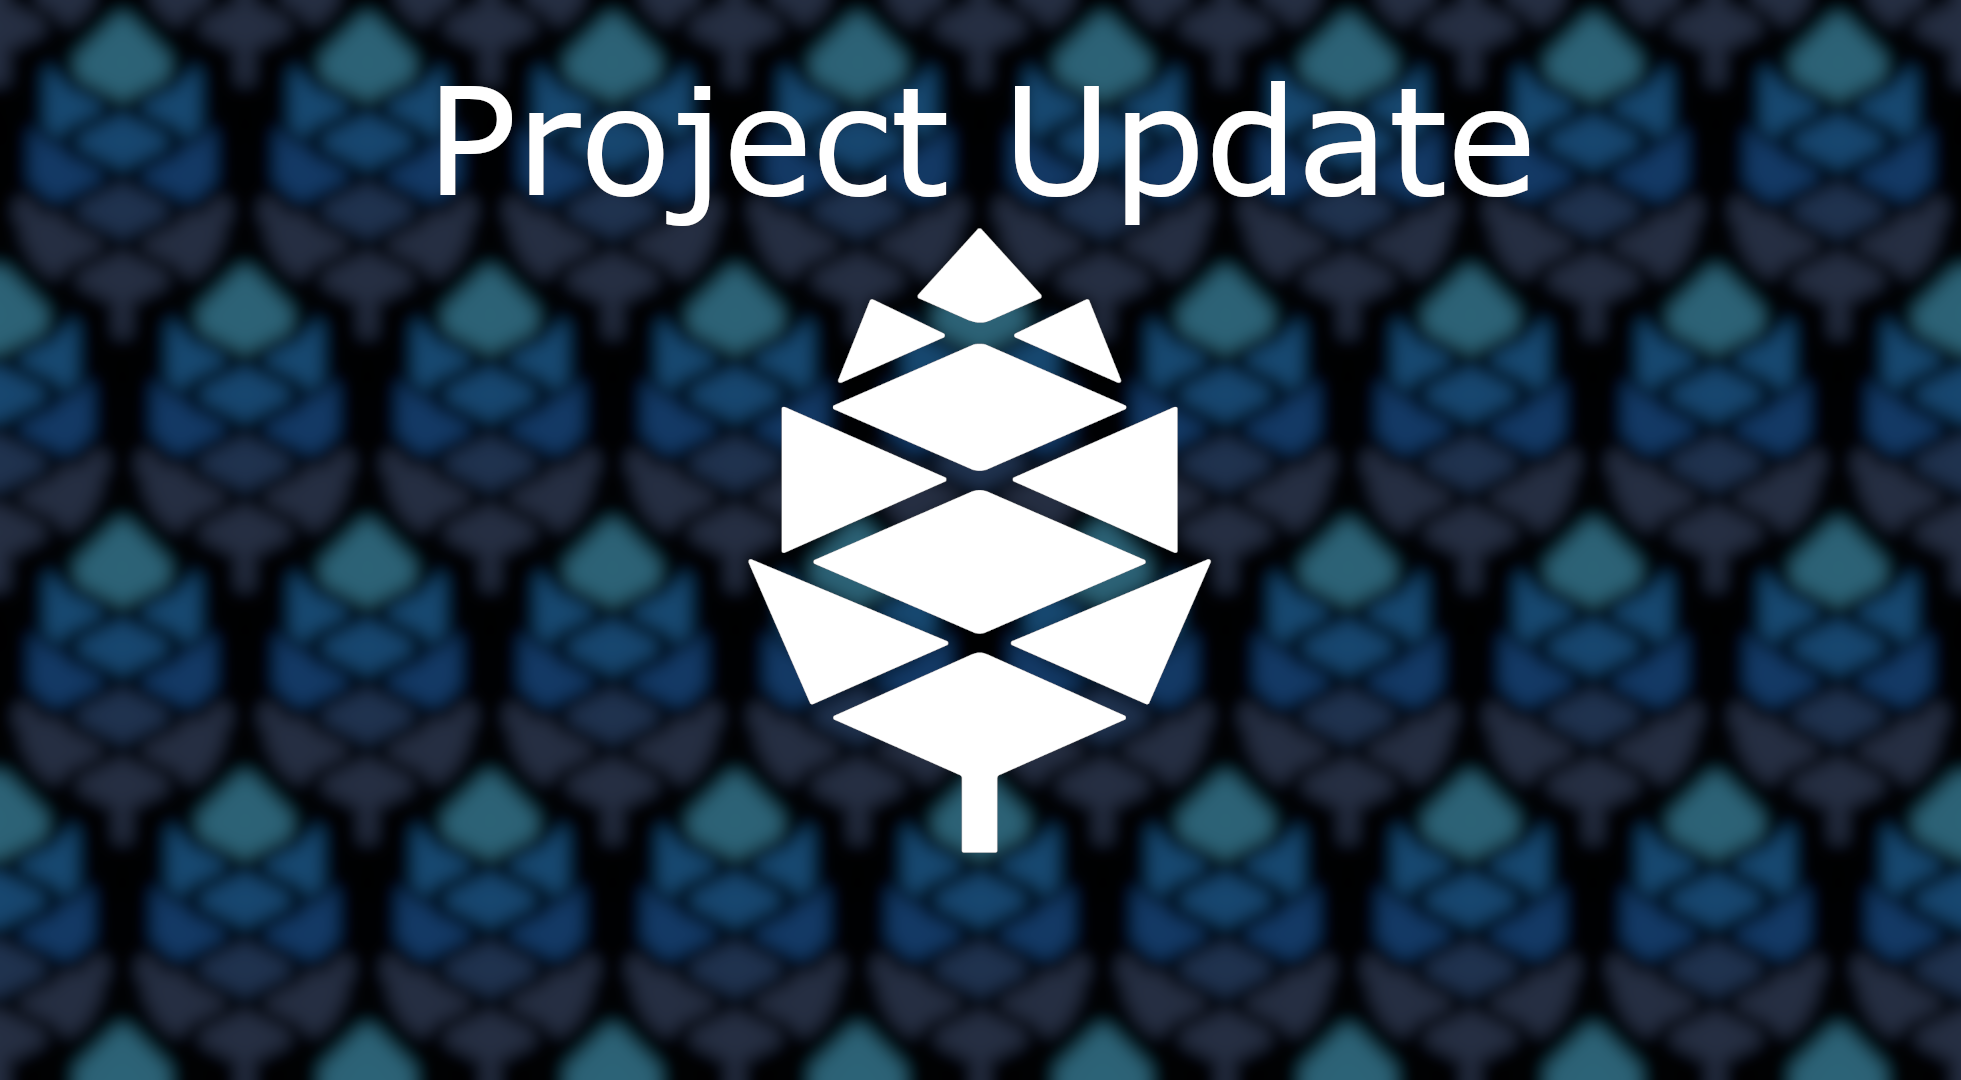
19 // Cover art found in the blog post itself.
20
21{{< toc >}}
22 // Creates the table of contents
23
24## HEADING TITLE
25 // First headline, put what your blog post is about here.
- The title should be formatted like “Project Update: New PineTab2 Factory Image” or “Project Update: PinePhone Pro FreeBSD port”
- The date entry follows the yyyy-mm-dd format. Make sure to test that the blog post appears in the hugo preview, depending on your timezone you may have to set it a day back.
- Categories are already correct in the template, so leave these alone.
- Tags are used to recommend similar blog posts with the same tags. For example:
pinetab2,pinetab-vandpinenote.
Cover image details
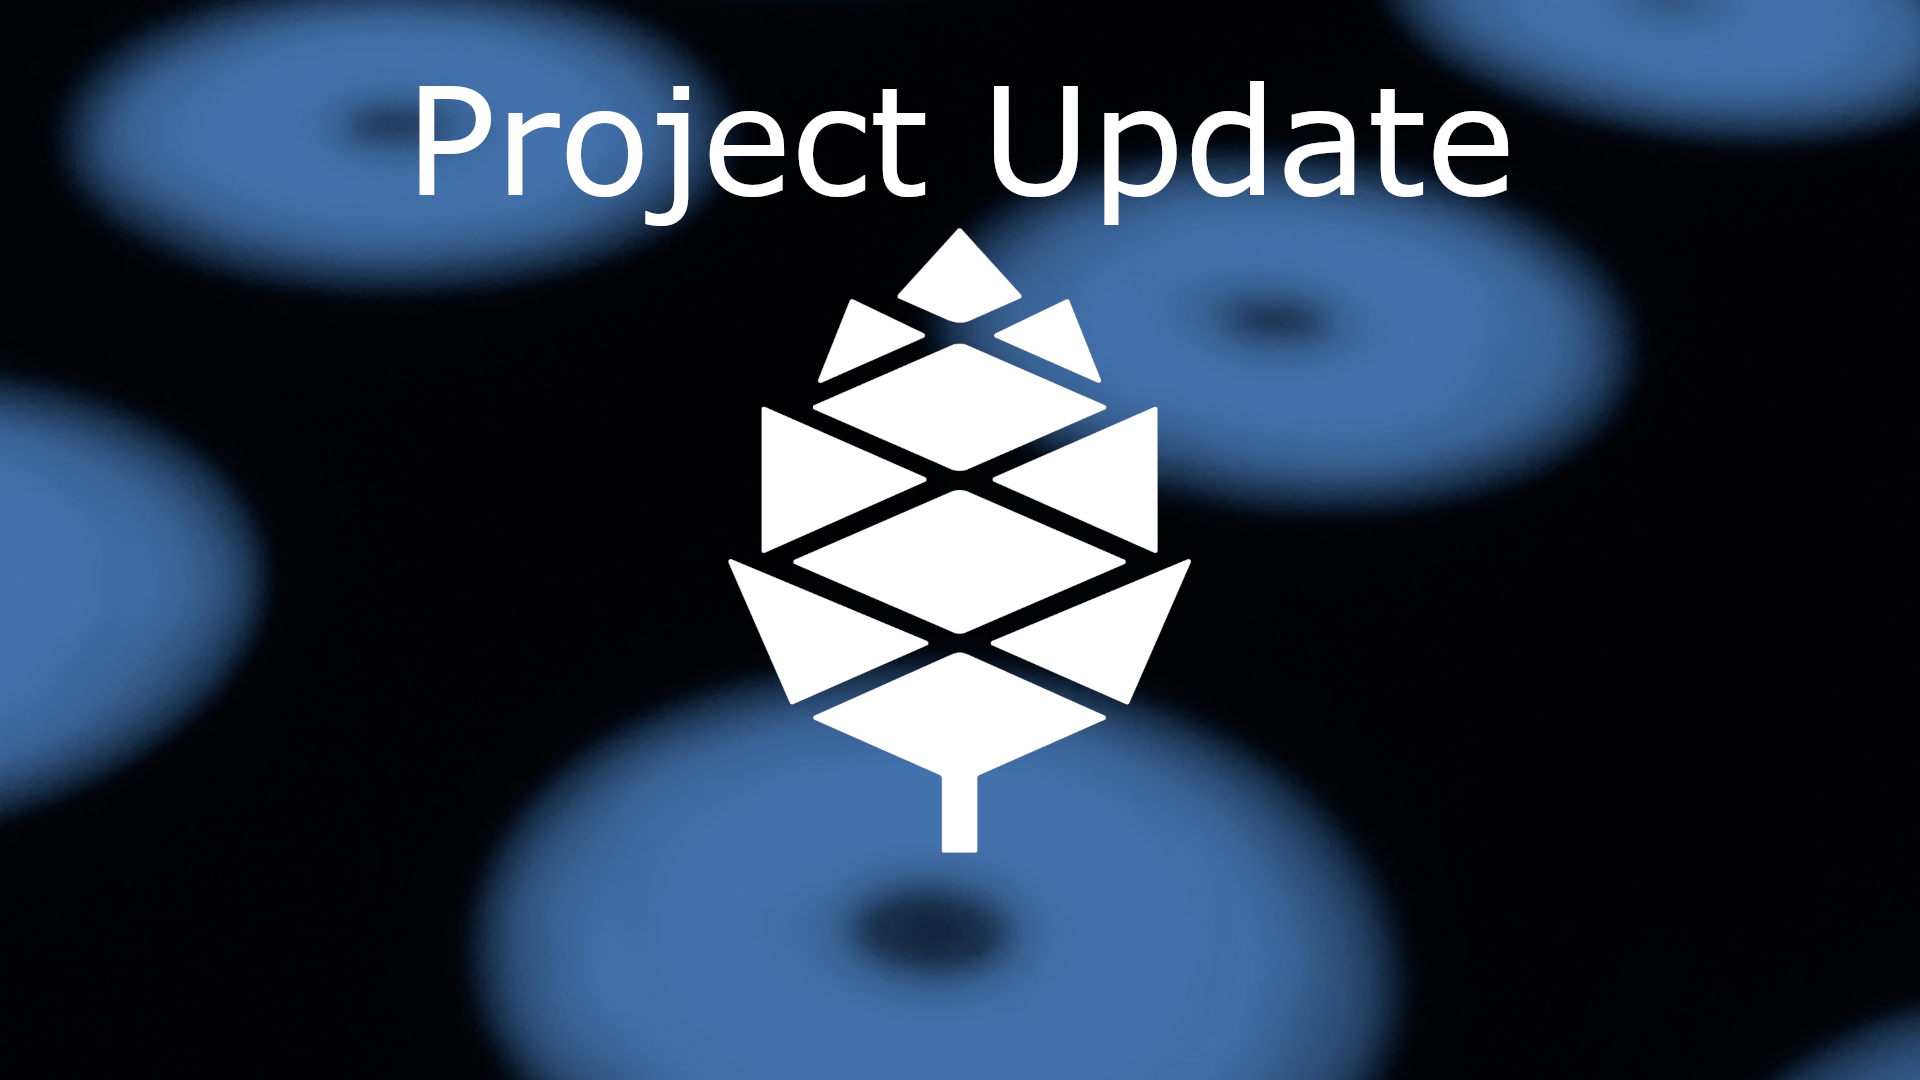
There are a number of different cover images to choose from that are included in the /content/blog/images/pine64_banners folder. The default image is called pine64_blue.png and has green, yellow and red color variations in pine64_banners/pine64_colors.
Blog post list cover image
The first option cover: image: is used for the cover image found on the blog post list. The image path for this option starts with the pine64_banners folder.
pine64_banners/festival_lights.pngpine64_banners/pine64_colors/pine64_yellow.png
Embed cover image
The second option images: is used for the embed cover image. This image will appear when you post a link to the post on platforms like Mastodon and Matrix. The image path for this option starts with the /blog folder.
/blog/images/pine64_banners/festival_lights.png/blog/images/pine64_banners/pine64_colors/pine64_yellow.png
Blog post cover image
The cover image found in the blog post itself can be set just after the option section ends. The image path for this option starts with the /blog folder.

Write
After the setup is done you are ready to start writing. Blog posts are written in Markdown so it is expected that you take a look at the Markdown syntax guide if you haven’t already. If you are unsure on how to lay out your blog post, take a look at the completed template for inspiration.
Install hugo
You can preview what the final post will look like by installing the hugo site generator. On Linux it’s straight forward, use your package manager to install hugo.
- Fedora:
sudo dnf install hugo - Debian/Ubuntu:
sudo apt install hugo - Arch Linux:
sudo pacman -S hugo
On Windows you must download the hugo binary and add it to your environment variables, you can find prebuilt binaries here. For any other operating systems and installation information you can find the documentation here.
Test your blog post
Start the hugo site generator by running hugo server in the root of the website repository, then check for anything that may look off in your blog post.
Merge that thing!
Once you’re happy with what you’ve written, you can submit a pull request on the website repository and we will review and merge it.
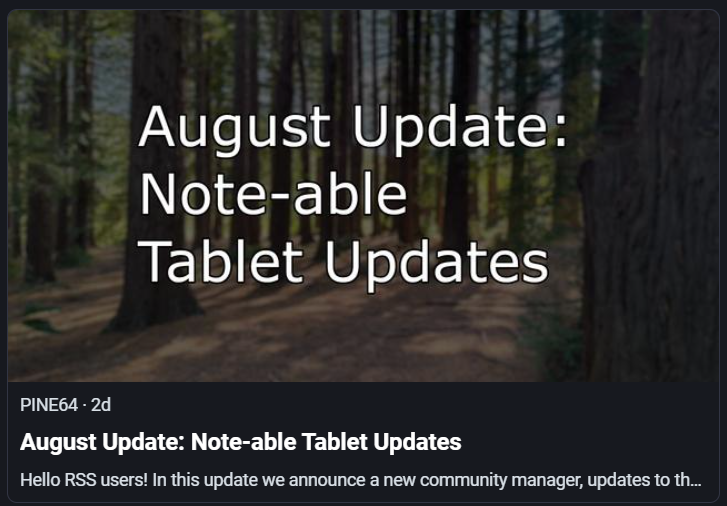
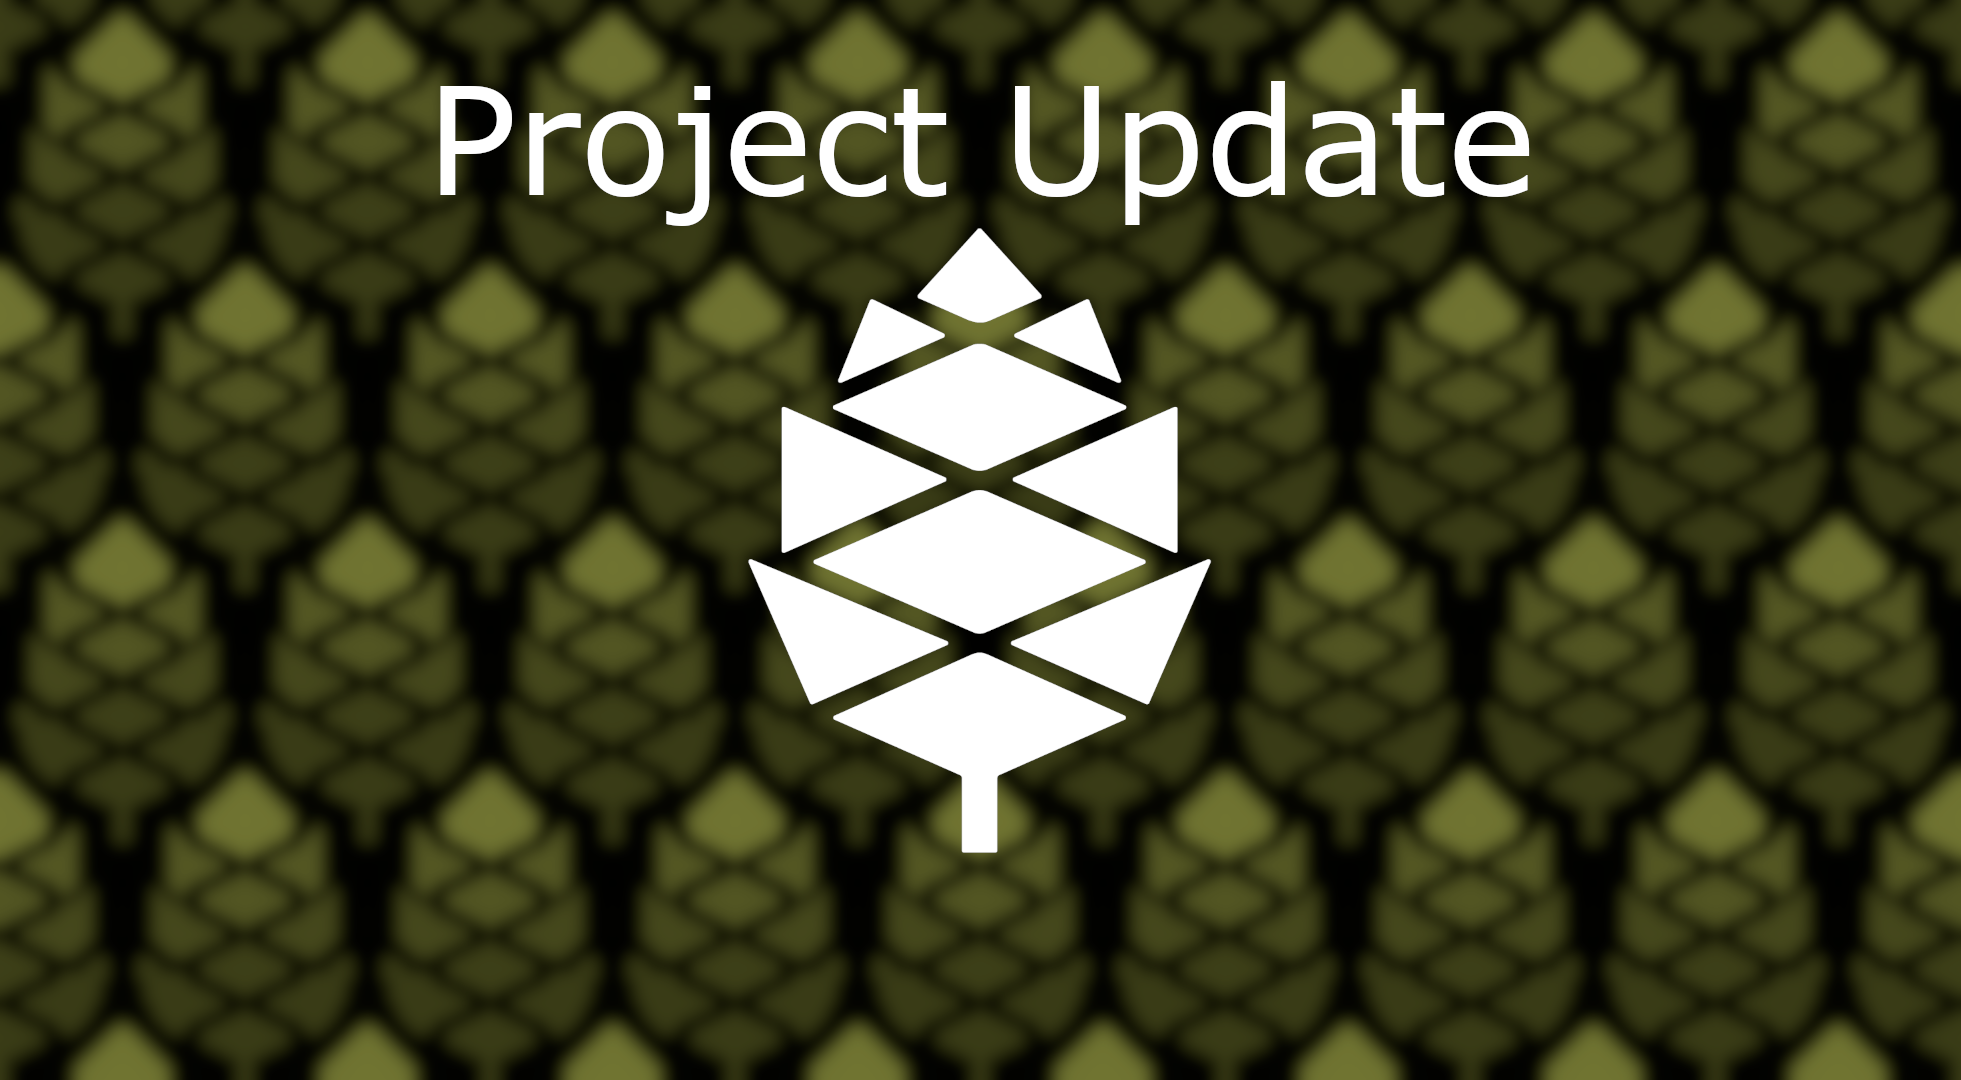
Available cover image
The source files for the following cover images have been placed in the /content/blog/images/pine64_banners/source_files folder. Make sure to not overwrite the originals.
pine64_blue.png (default)
festival_lights.png
the_sign.png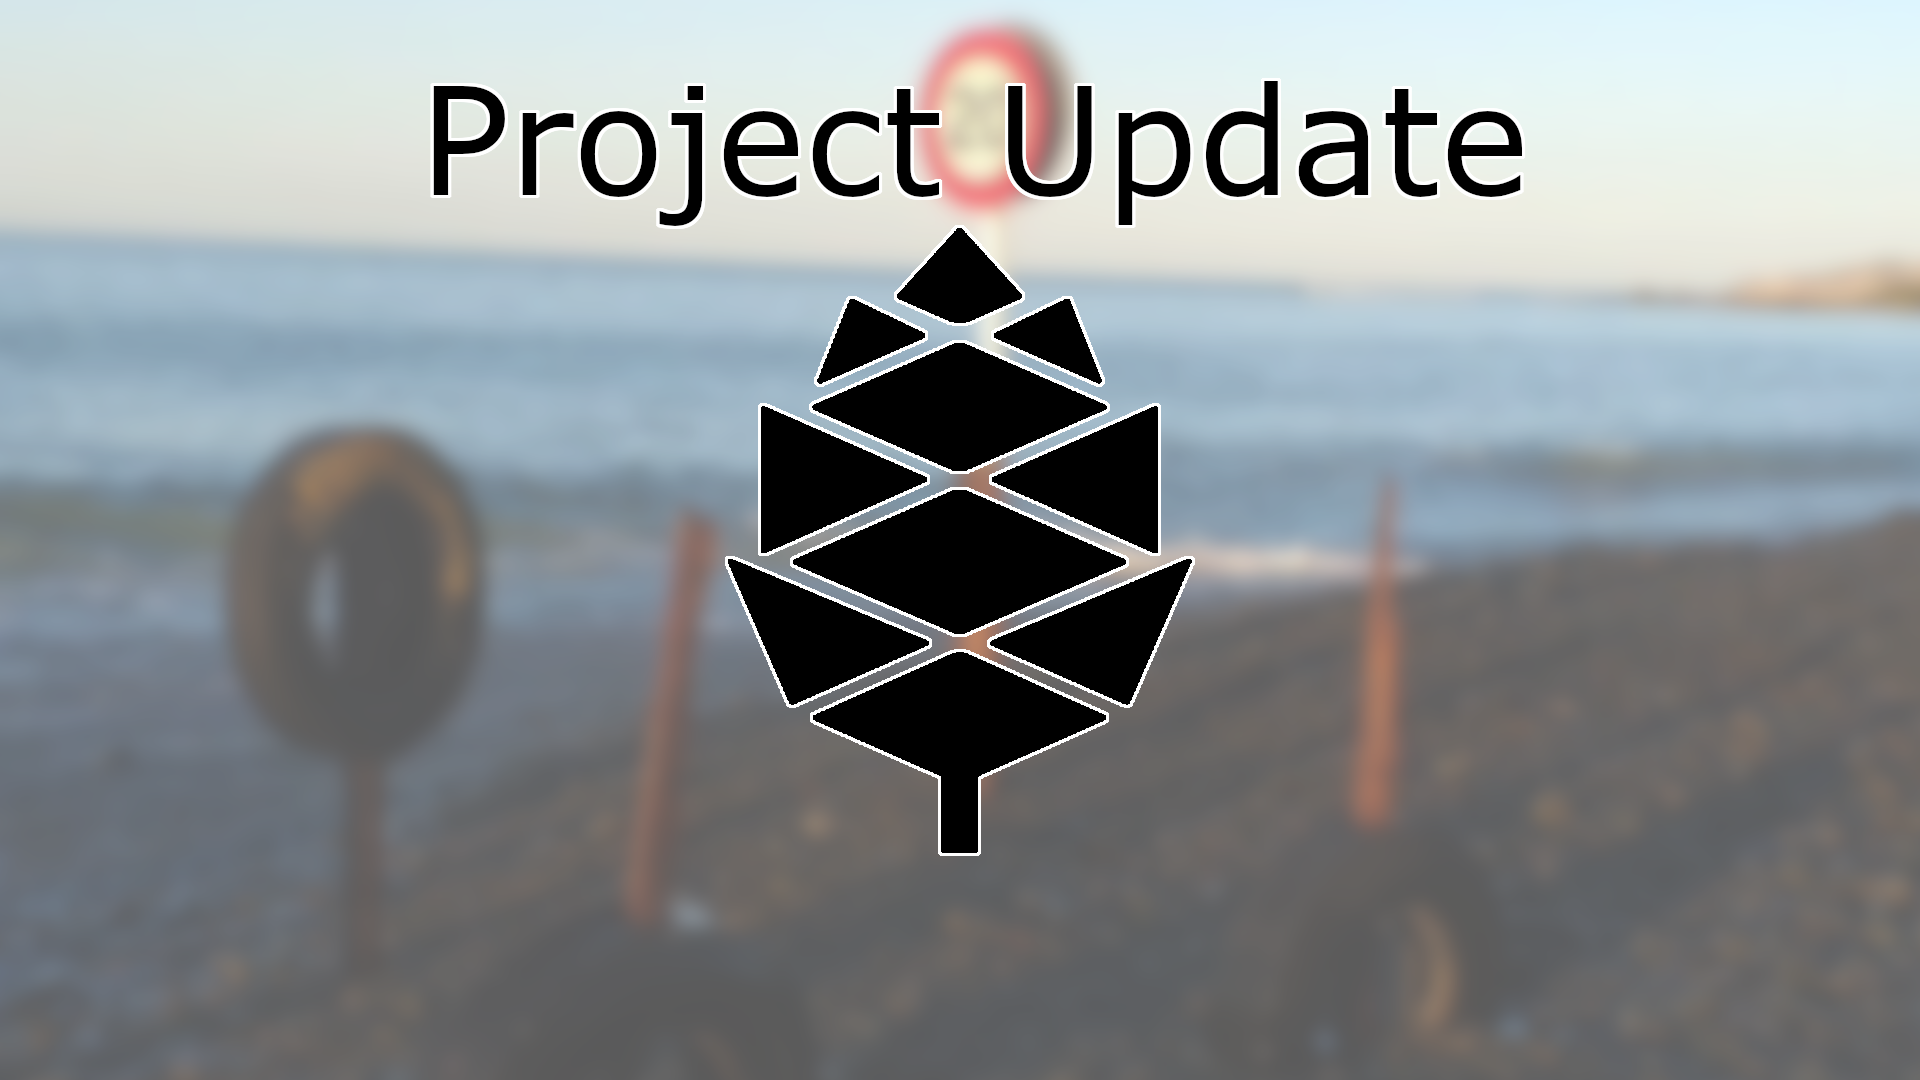
forest.png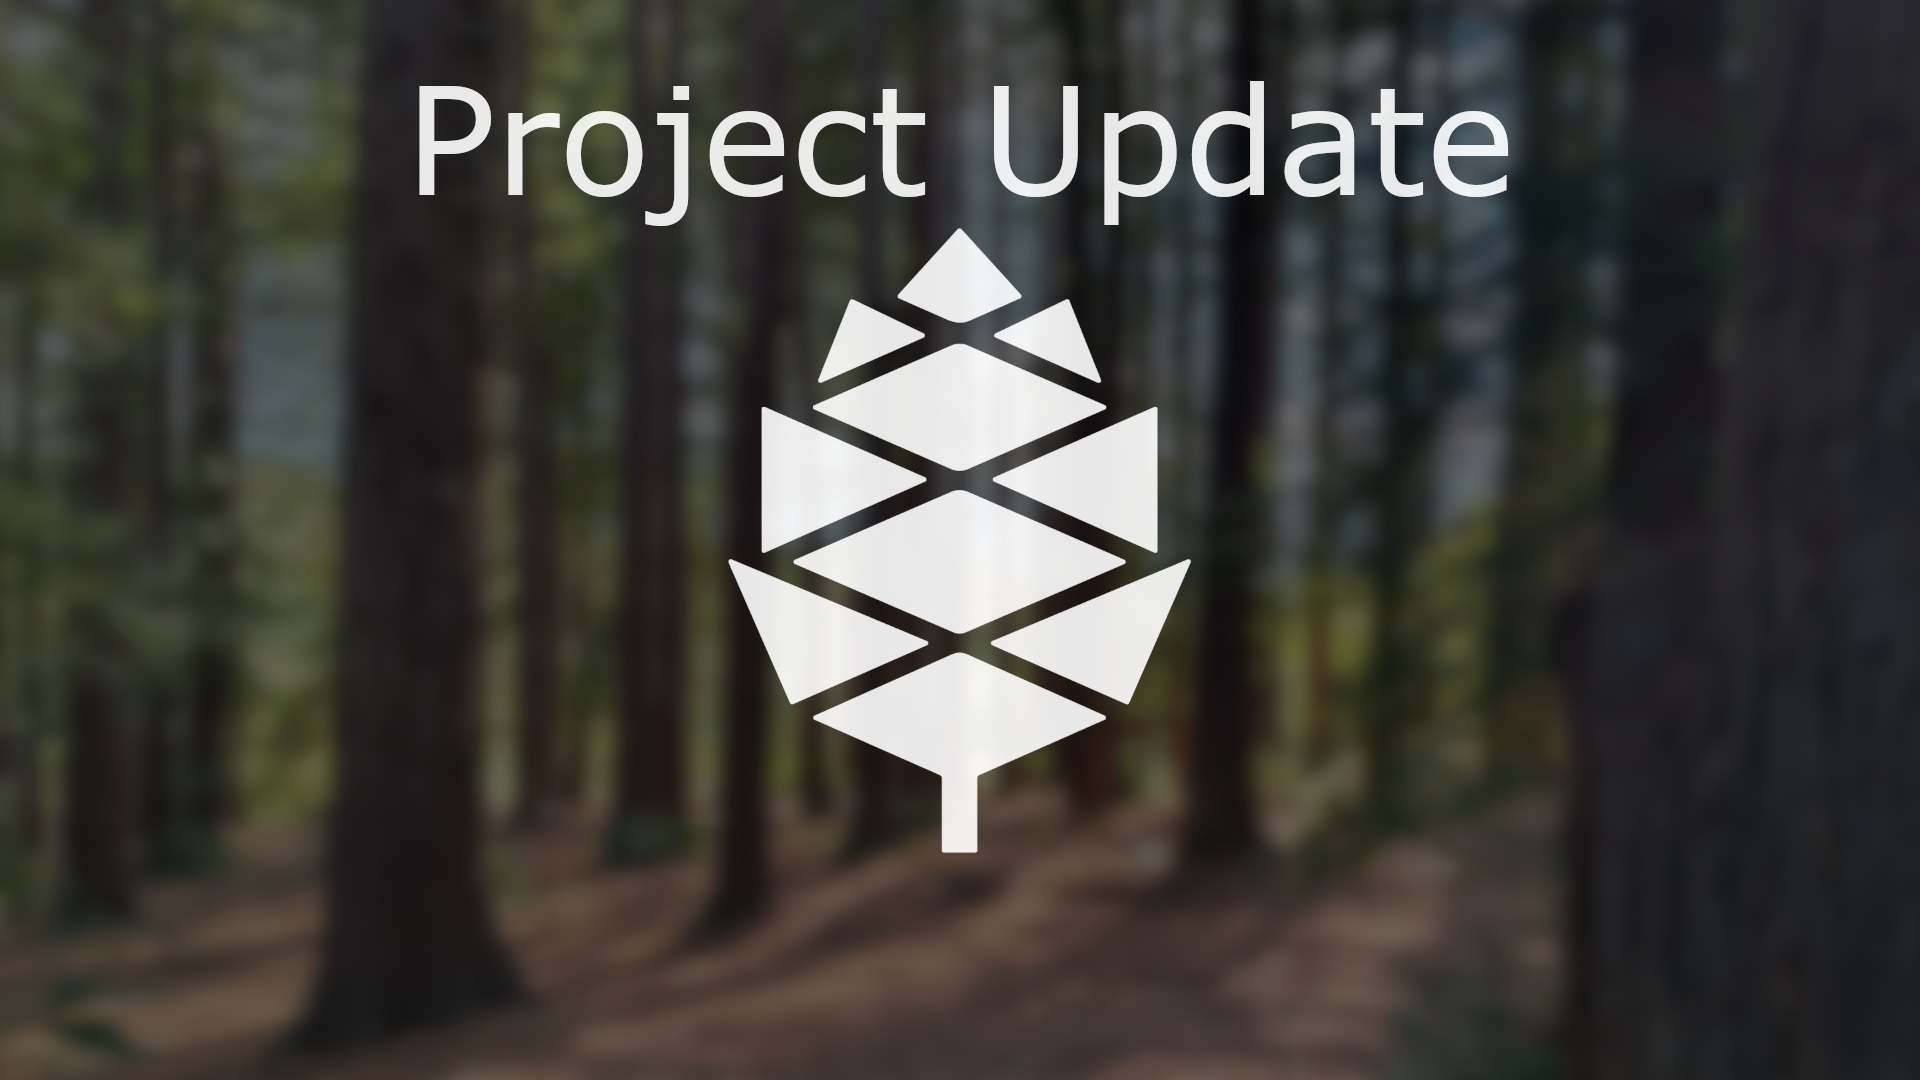
fountain.png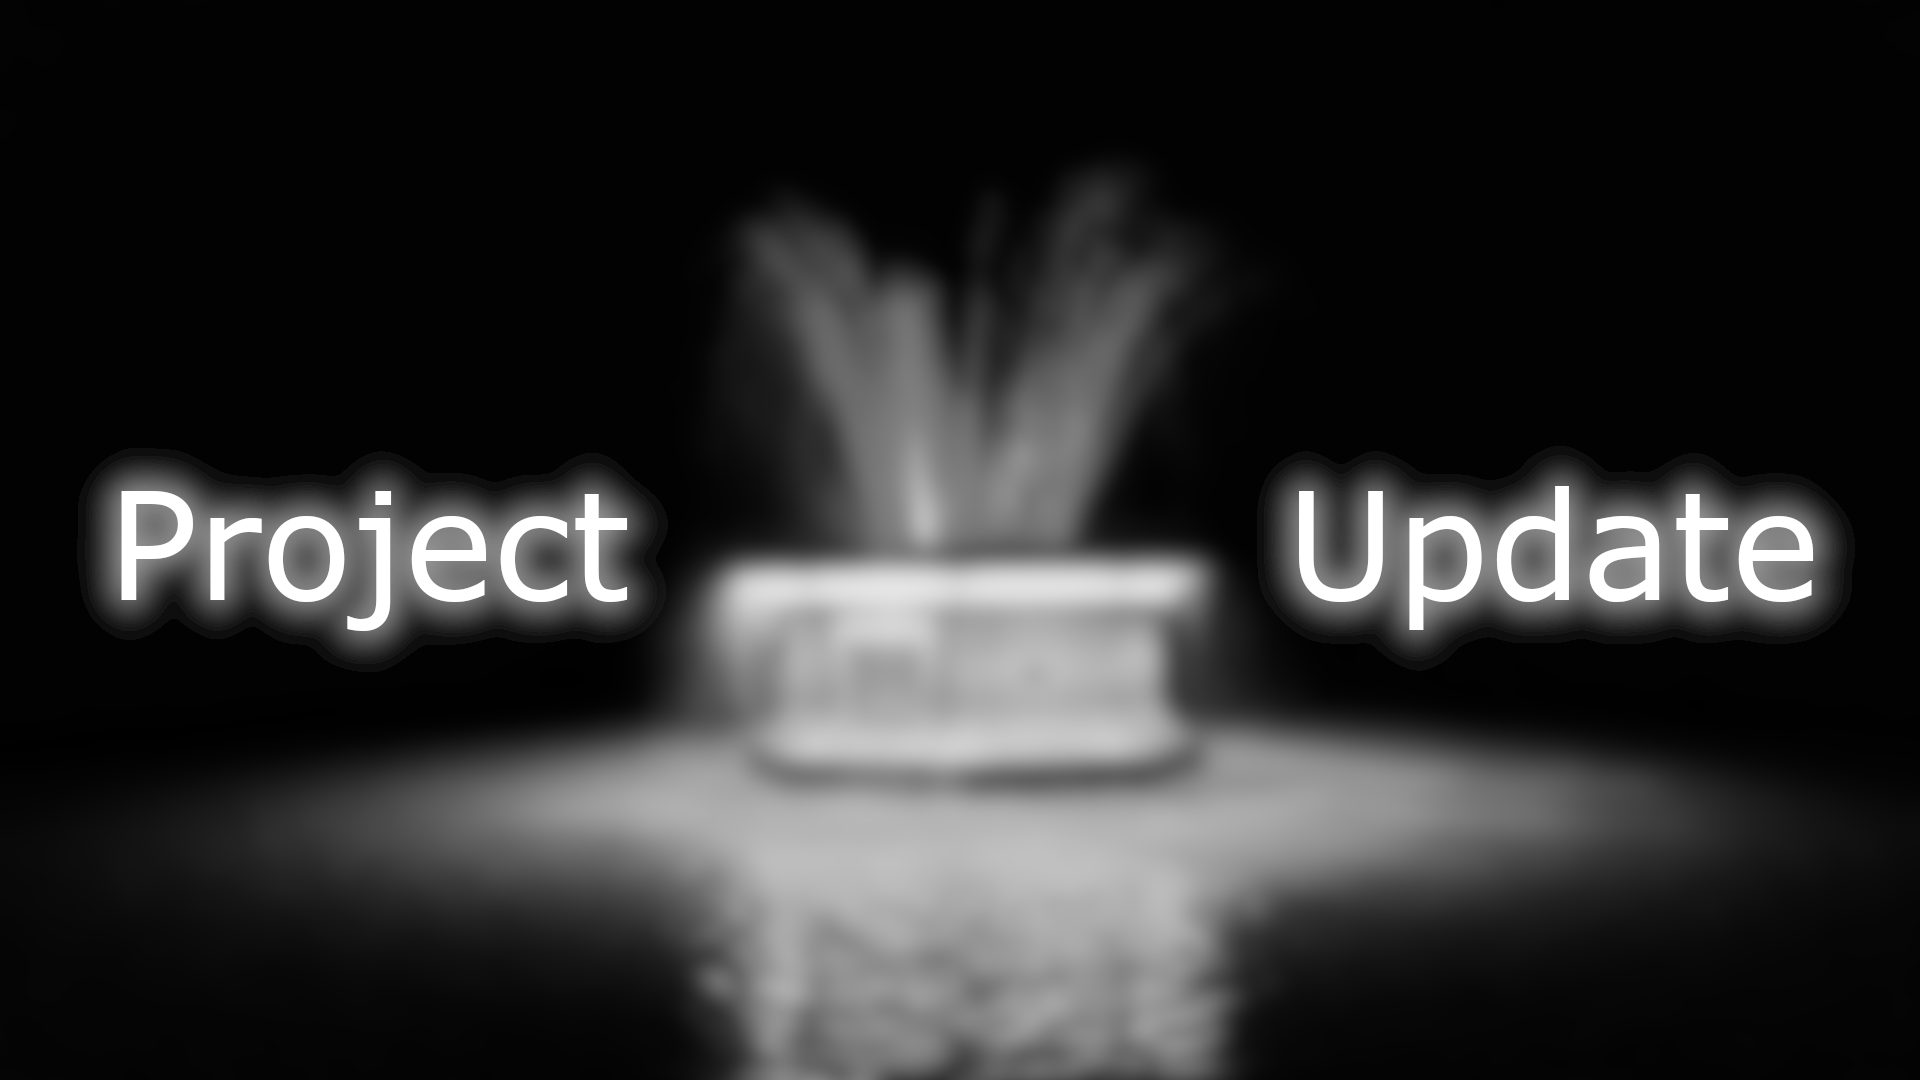
Bring your own cover image
If you’d like to bring your own cover image for your blog post, you can drop it in the /content/blog/images/pine64_banners/community folder. Make sure to edit the path for the cover image at the top of the blog post document to reflect this.
- Try to keep cover image at a 16:9 aspect ratio, 1920x1080 is a good resolution to aim for.
- The font size used for the tagline in GIMP is 150px.