Installation to the eMMC
The internal memory of the PinePhone (eMMC) can be flashed using multiple different methods.
From the booted microSD OS
- Flash an OS to the microSD card (and optionally resize the partition, see below)
- Insert microSD card and boot the phone
- Download the desired OS’ image on the booted OS or transfer it to the microSD card
- Extract the image file if it is archived
- Flash the image file to eMMC using
dd if=IMAGE.img of=/dev/mmcblkX bs=1M conv=fsyncwhere X is the number label of the eMMC (of the disk, not the partition!). Use the commandlsblkto check your devices: typically with the current kernel the microSD card is /dev/mmcblk0 and the eMMC is /dev/mmcblk2 but as always with dd be extremely cautious to get the devices correct. - Turn off phone, remove microSD card and then turn on the phone.
Using JumpDrive
note
This only applies to the regular PinePhone, not the PinePhone Pro.

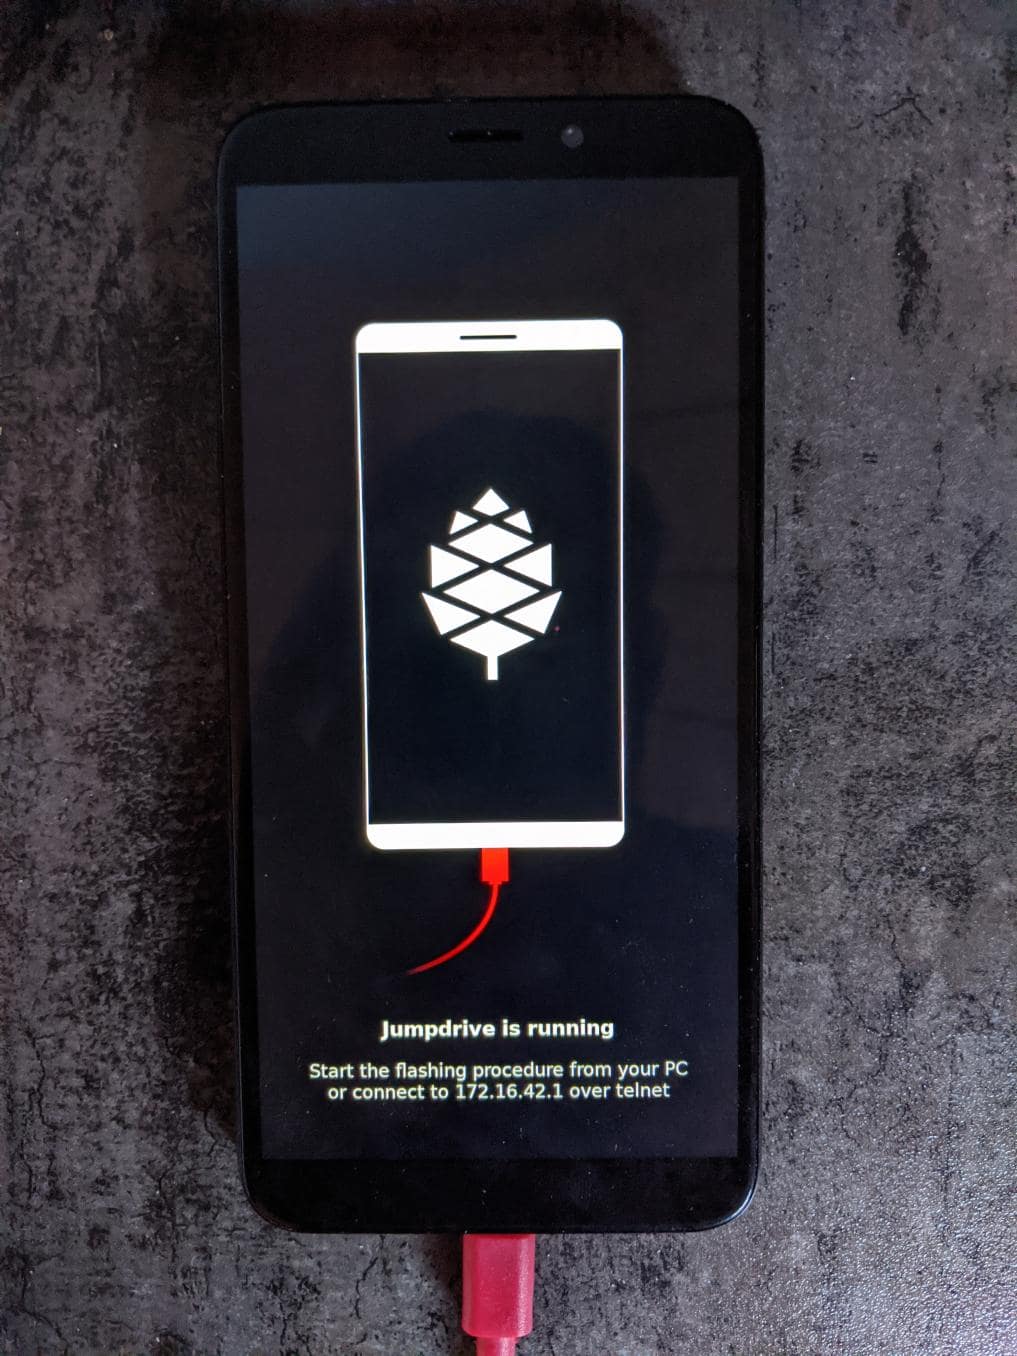
Jumpdrive running on the PinePhone
The internal eMMC flash storage can be flashed using the Jumpdrive utility by Danct12 and Martijn from postmarketOS. This utility boots from micro SD and exposes the internal eMMC flash storage when the PinePhone is connected to a computer. The process of flashing an OS to the exposed and mounted eMMC is identical to that of any other storage medium - e.g. a microSD card. You can use the dd command or a utility such as Etcher or Gnome Disks, etc.
Latest Jumpdrive can be found here.
- Download and extract the Jumpdrive image
- Flash the Jumpdrive image to a microSD card
- Boot the PinePhone from the Jumpdrive microSD card
- Connect the PinePhone to your computer using USB-A -> USB-C cable
- Flash the exposed PinePhone drive (e.g. /dev/mm…, check for the right device in
dmesg, GNOME disks, or similar, and make sure it’s unmounted) with your chosen OS image - Once the flashing process is complete, disconnect the PinePhone from your PC, power it down and remove the Jumpdrive microSD card
- The process is now finished, and you can boot from eMMC
The Jumpdrive image is smaller than 50MB. You can keep an microSD card specifically for using Jumpdrive, and there are 64MB microSD cards sold cheaply that will suffice. Jumpdrive also acts as a rescue image in case if you messed up your installation. To do so, you can telnet to 172.16.42.1, mount rootfs and fix it!
SD to eMMC via installer
An special installer image booted from the microSD card can be used to flash the eMMC as well. Mobian and postmarketOS installer images booted from microSD card will simply ask the user if they want to install to eMMC. The feature lives in the distribution-agnostic calamares-extensions repository (see calamares-extensions#7), so other distributions might adopt this in the future.
Using Tow-Boot
Tow-Boot is an opinionated distribution of the U-Boot bootloader. It includes an USB Mass Storage Mode, which exposes the flash drive(s) to a computer connected to the phone via USB-C. The Tow-Boot bootloader has to be installed if it is not pre-installed already. For instructions see the following links:
- PinePhone: https://tow-boot.org/devices/pine64-pinephoneA64.html
- PinePhone Pro: https://tow-boot.org/devices/pine64-pinephonePro.html
If Tow-Boot is installed the phone can be started into USB Mass Storage Mode by holding the volume up key on startup.
The steps of flashing an operating system to the phone after booting Tow-Boot’s USB Mass Storage Mode and connecting the phone to a computer is identical to that of any other storage medium - e.g. a microSD card. You can use the dd command or a utility such as Etcher or Gnome Disks from the computer the phone is connected to.


