Installation to the microSD card
For this installation method you need a microSD card, a microSD card reader and a compatible device, such as a computer or a laptop with Linux, iOS, Windows or similar (note: ChromeOS is not supported).
To install an image to the microSD card:
- Download your chosen image from Releases for the regular PinePhone (not compatible with the PinePhone Pro).
- Extract the compressed file
- Write (flash) the image to your microSD card, see the instructions below
- Plug microSD card into phone (make sure to use the top slot, not the bottom slot)
- Boot up the phone
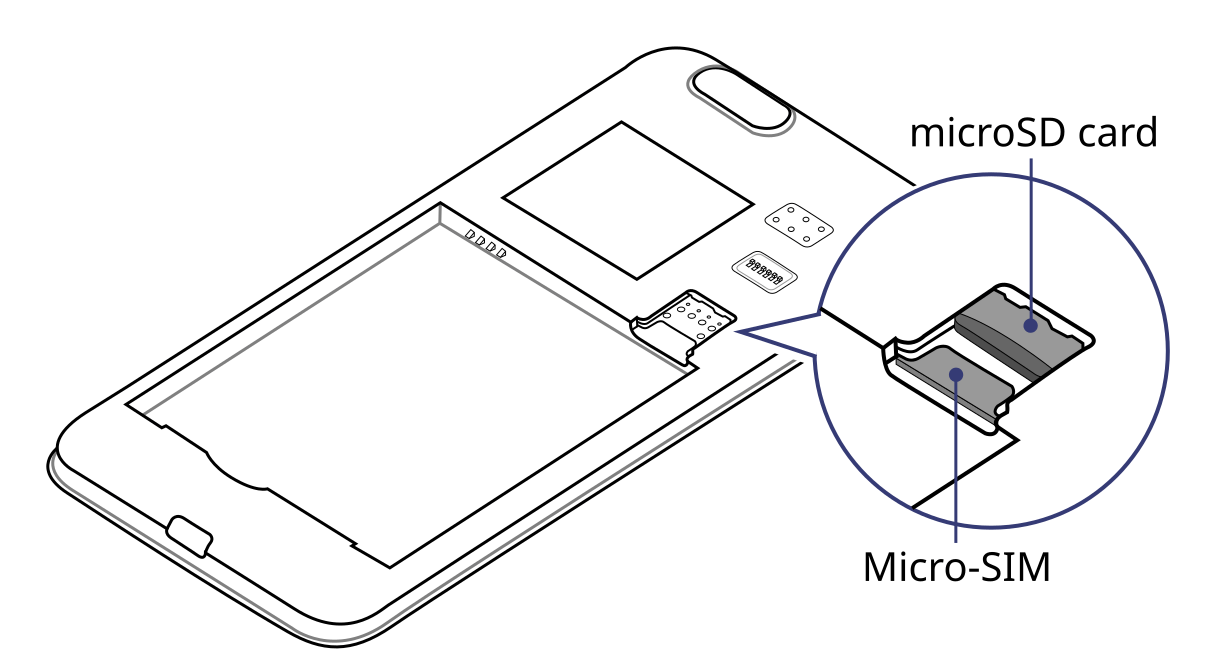
The microSD belongs in the upper slot, the micro-SIM in the lower slot.
Using Balena Etcher
Using the graphical application Balena Etcher to flash the microSD card is ‘recommended’ for new or inexperienced users.
Download and install the application: https://etcher.balena.io/#download-etcher
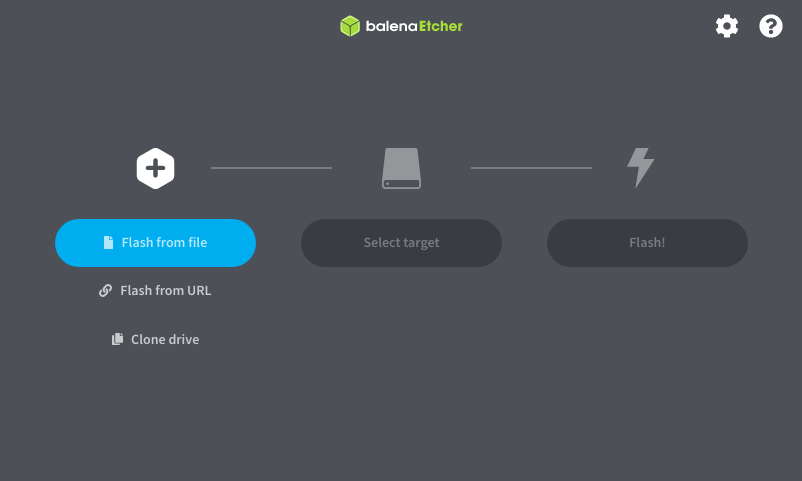
Then start it and click the button Flash from file:
Select the downloaded image and make sure that you downloaded the correct one. Images for the PinePhone and the PinePhone Pro are ’not compatible’ with each other. Images for the PinePhone typically have the word “PinePhone” in the filename, while images for the PinePhone Pro typically have “PinePhone Pro” in their filename.
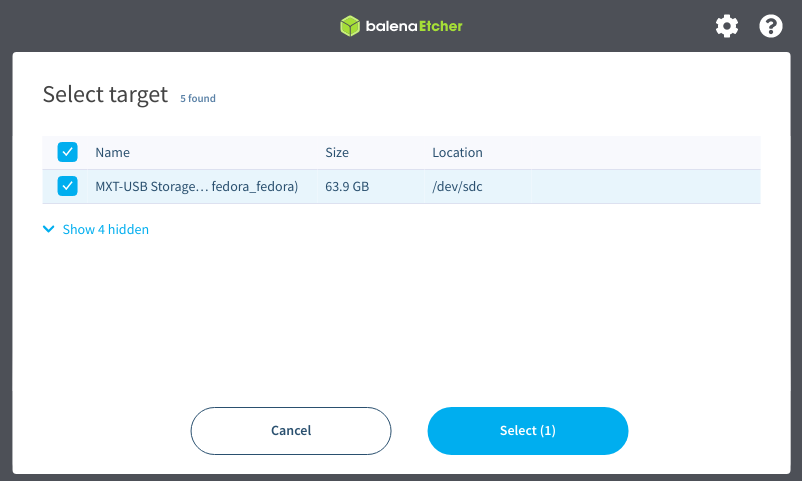
Then click on Select target:
Then click on Flash!:
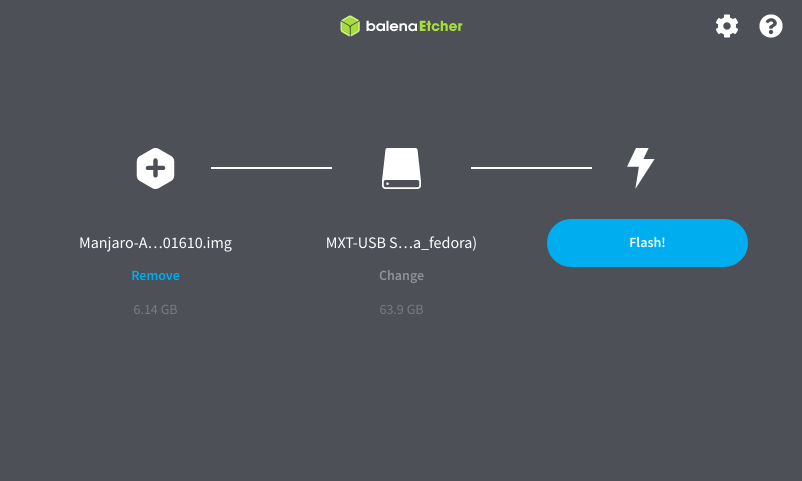
That’s it!
Using dd
For flashing the microSD card, the command dd can be used as well.
Make sure to select the correct device using lsblk. Then run dd with the selected device:
sudo dd if=IMAGE.img of=/dev/[DEVICE] bs=1M status=progress conv=fsync
Using bmaptool
Make sure to select the correct device using lsblk. Then run bmaptool with the correct device:
Download the IMAGE.xz and the IMAGE.bmap files, then run:
bmaptool copy --bmap IMAGE.bmap IMAGE.xz /dev/[DEVICE]
This takes around 2.5 minutes to flash a 4 Gb file.
Using Gnome Disks
The graphical application Gnome Disks can be used to flash the microSD card as well.
To do so, select the correct device in the left device selection, then click on the three dot menu and select Restore Disk Image… and follow the on-screen instructions.