Assembly
Please help to review and edit this page or section. Information are subject to change.
The Pinebook Pro keyboard comes as a pre-assembled unit built into the main shell of the device, a damaged shell had the keyboard removed from it to be studied. Note that removing the keyboard from the shell is technically irreversible since it’s held in with melted plastic rivets. If these ever happen to break then you could likely hold the keyboard in with adhesives or drill small holes and use screws instead.
The keyboard is sandwiched between a thick (likely 0.7mm) steel plate and the plastic shell, this steel plate serves as a mounting point for some of the components inside the laptop as well as adding a significant amount of structural rigidity to the device. The actual keyboard is made of a very thin metal backplate, a clear flexible plastic PCB, and a black flexible plastic layer that appears to be removable but more research will need to be done.
The key mechanism is a relatively modern style of scissor switch, the upside to this mechanism is that the keys have a very nice feel to them and don’t fall apart easily, the downside is that if the plastic scissor mechanism gets damaged the whole key assembly will start to fall off due to slipping out from under the metal arms in the keyboard backplate. The only known fix is to replace the key assembly, or more likely the entire keyboard mechanism, more research should be done into this.
Older style scissor switches allowed you to just pull the keycap straight off the mechanism and snap it back into place by pressing down on it. Do not do this for newer mechanisms like the Pinebook Pro keyboard, all that will do is damage the mechanism.
Removing Keys
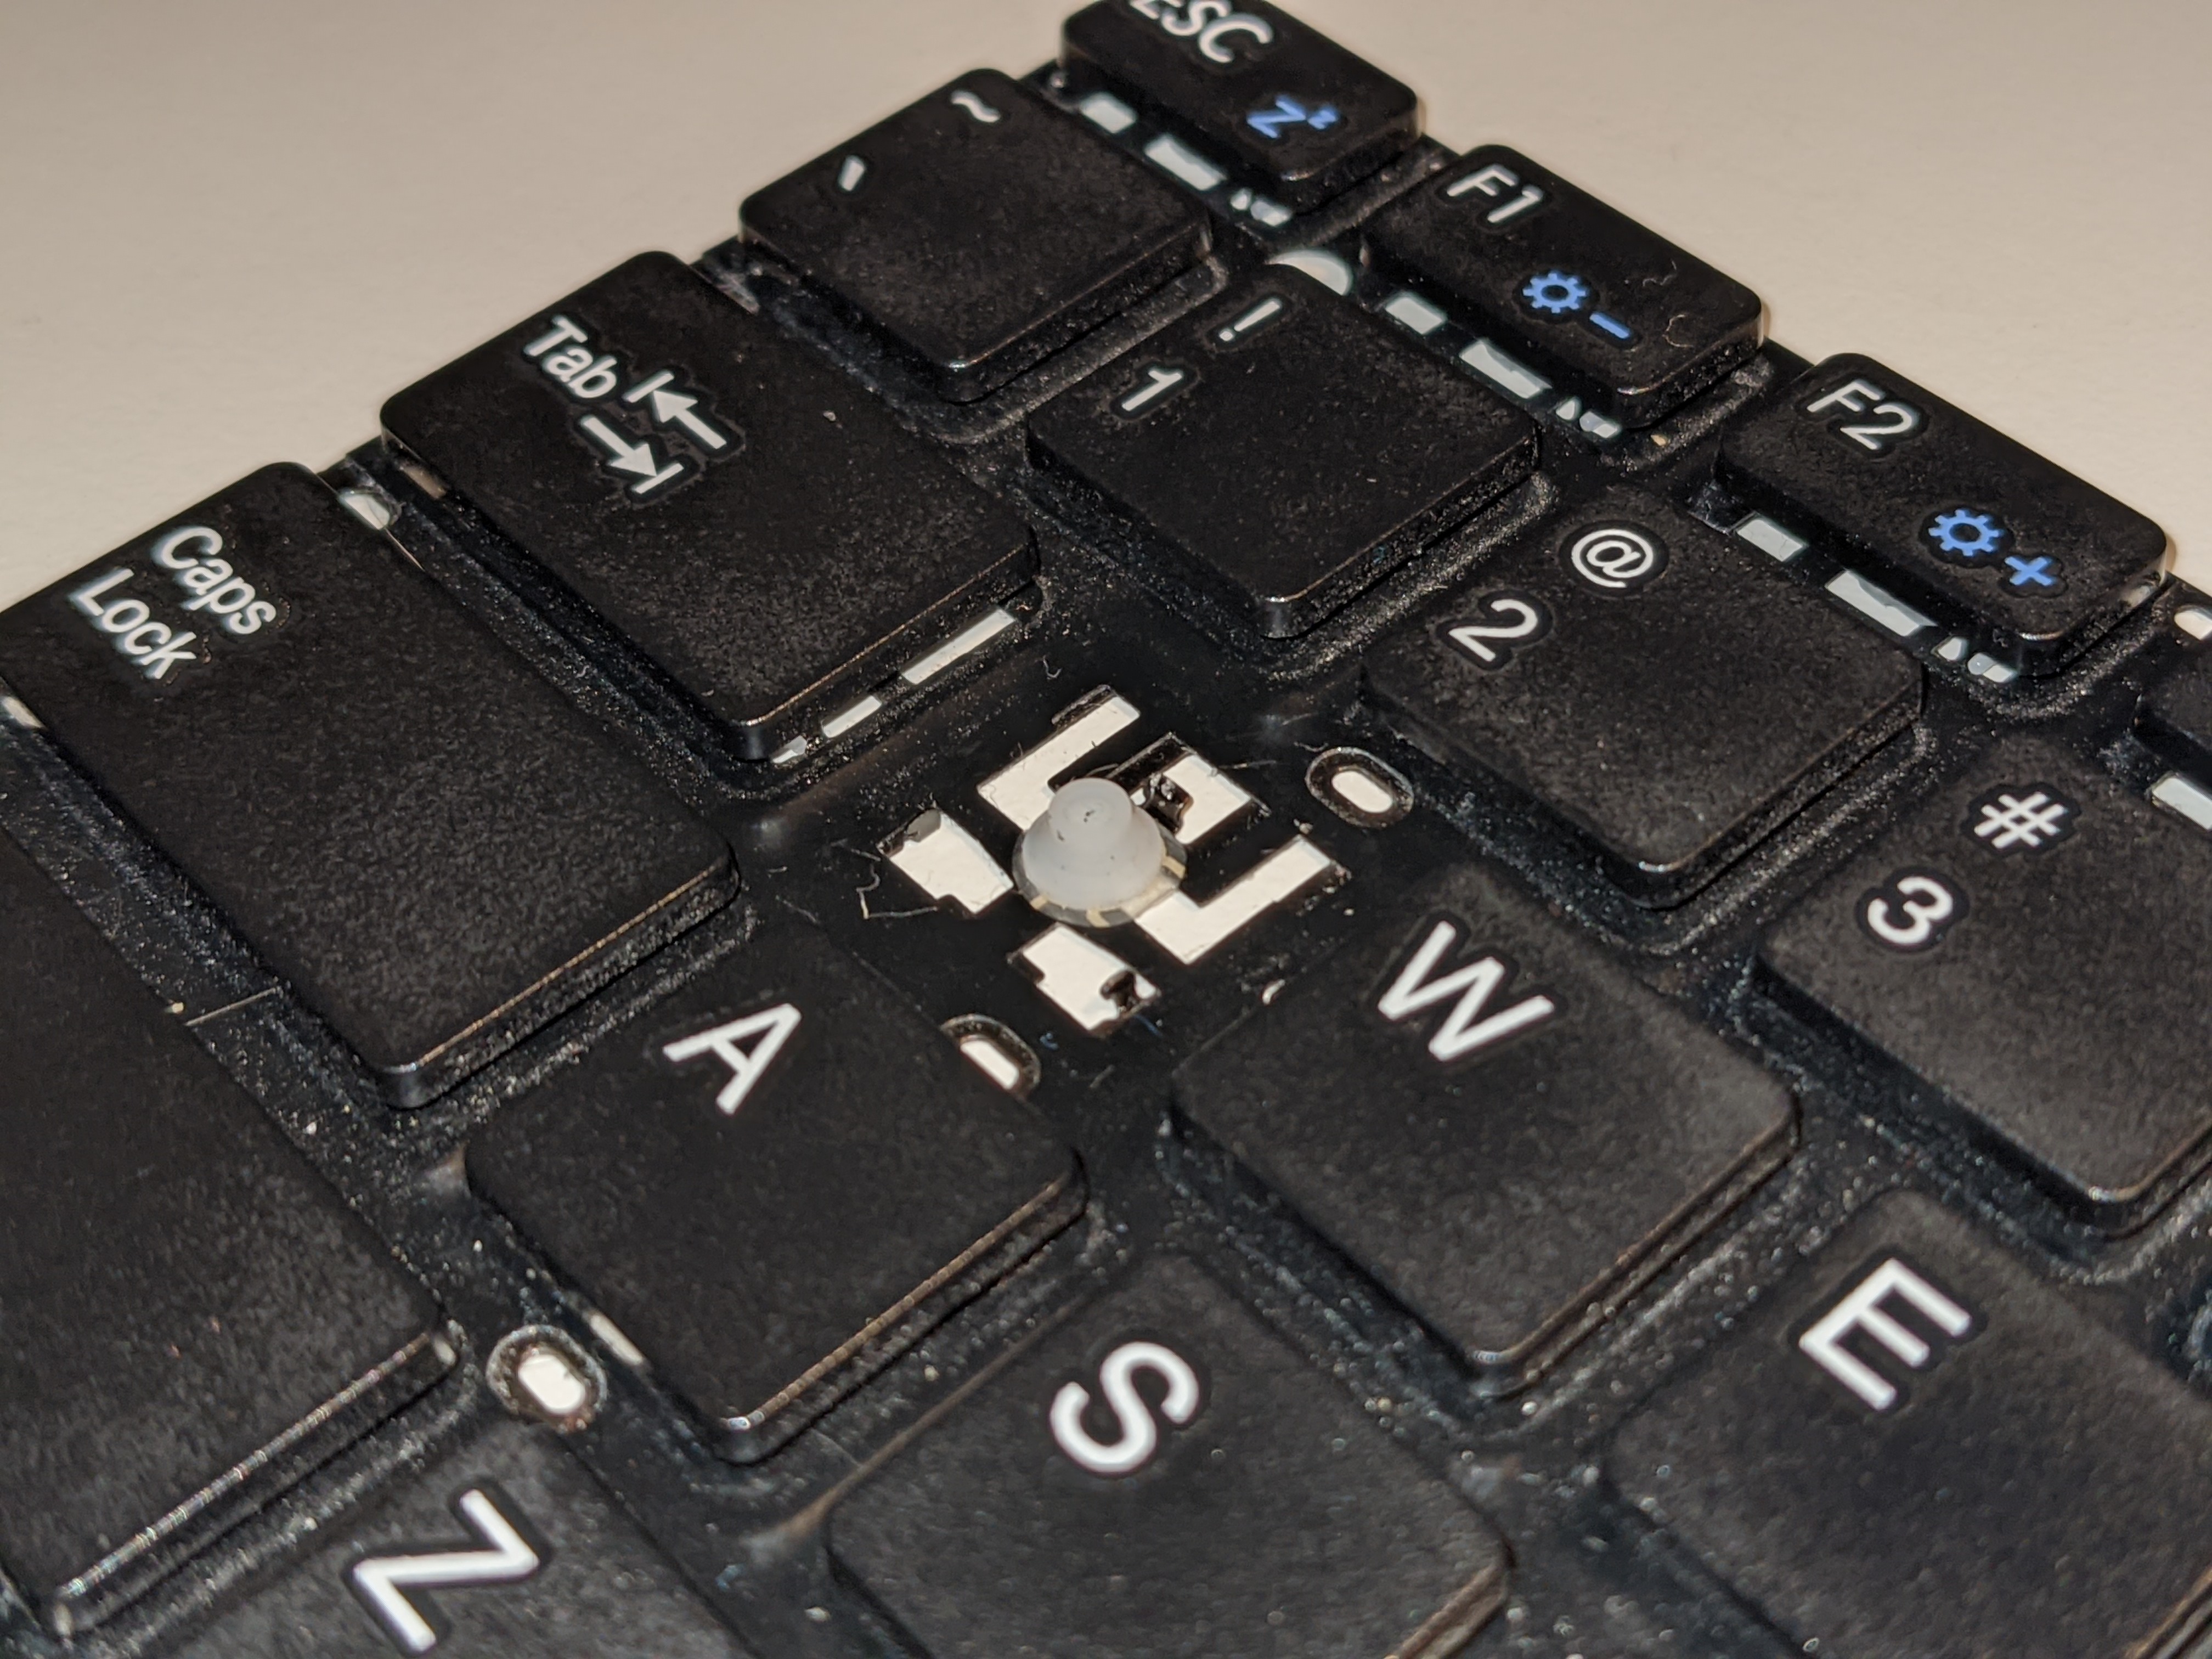
Keys can be relatively safely removed (however the mechanism can easily be damaged by someone who doesn’t know what they’re doing) when the keyboard assembly has been removed from the shell, however with the shell in place it blocks movement of the keys that is required to unhook the mechanism from the metal backplate.
To remove a key, first push it all the way in, slide it upwards slightly, and lift the top half of the key, this should dislodge the upper half of the scissor mechanism, this step can be tricky, the keys were designed to be assembled once and never removed again.

Next you can just slide the key down slightly, this will dislodge the lower half of the scissor mechanism and the key should come completely off the keyboard.

Re-attaching a key can be quite fiddly since the mechanism stays attached to the key rather than the keyboard like older scissor designs.
The assembly process is the same as disassembly, just reversed, but you have to be careful with horizontal alignment, otherwise the lower half of the mechanism won’t lodge in place.
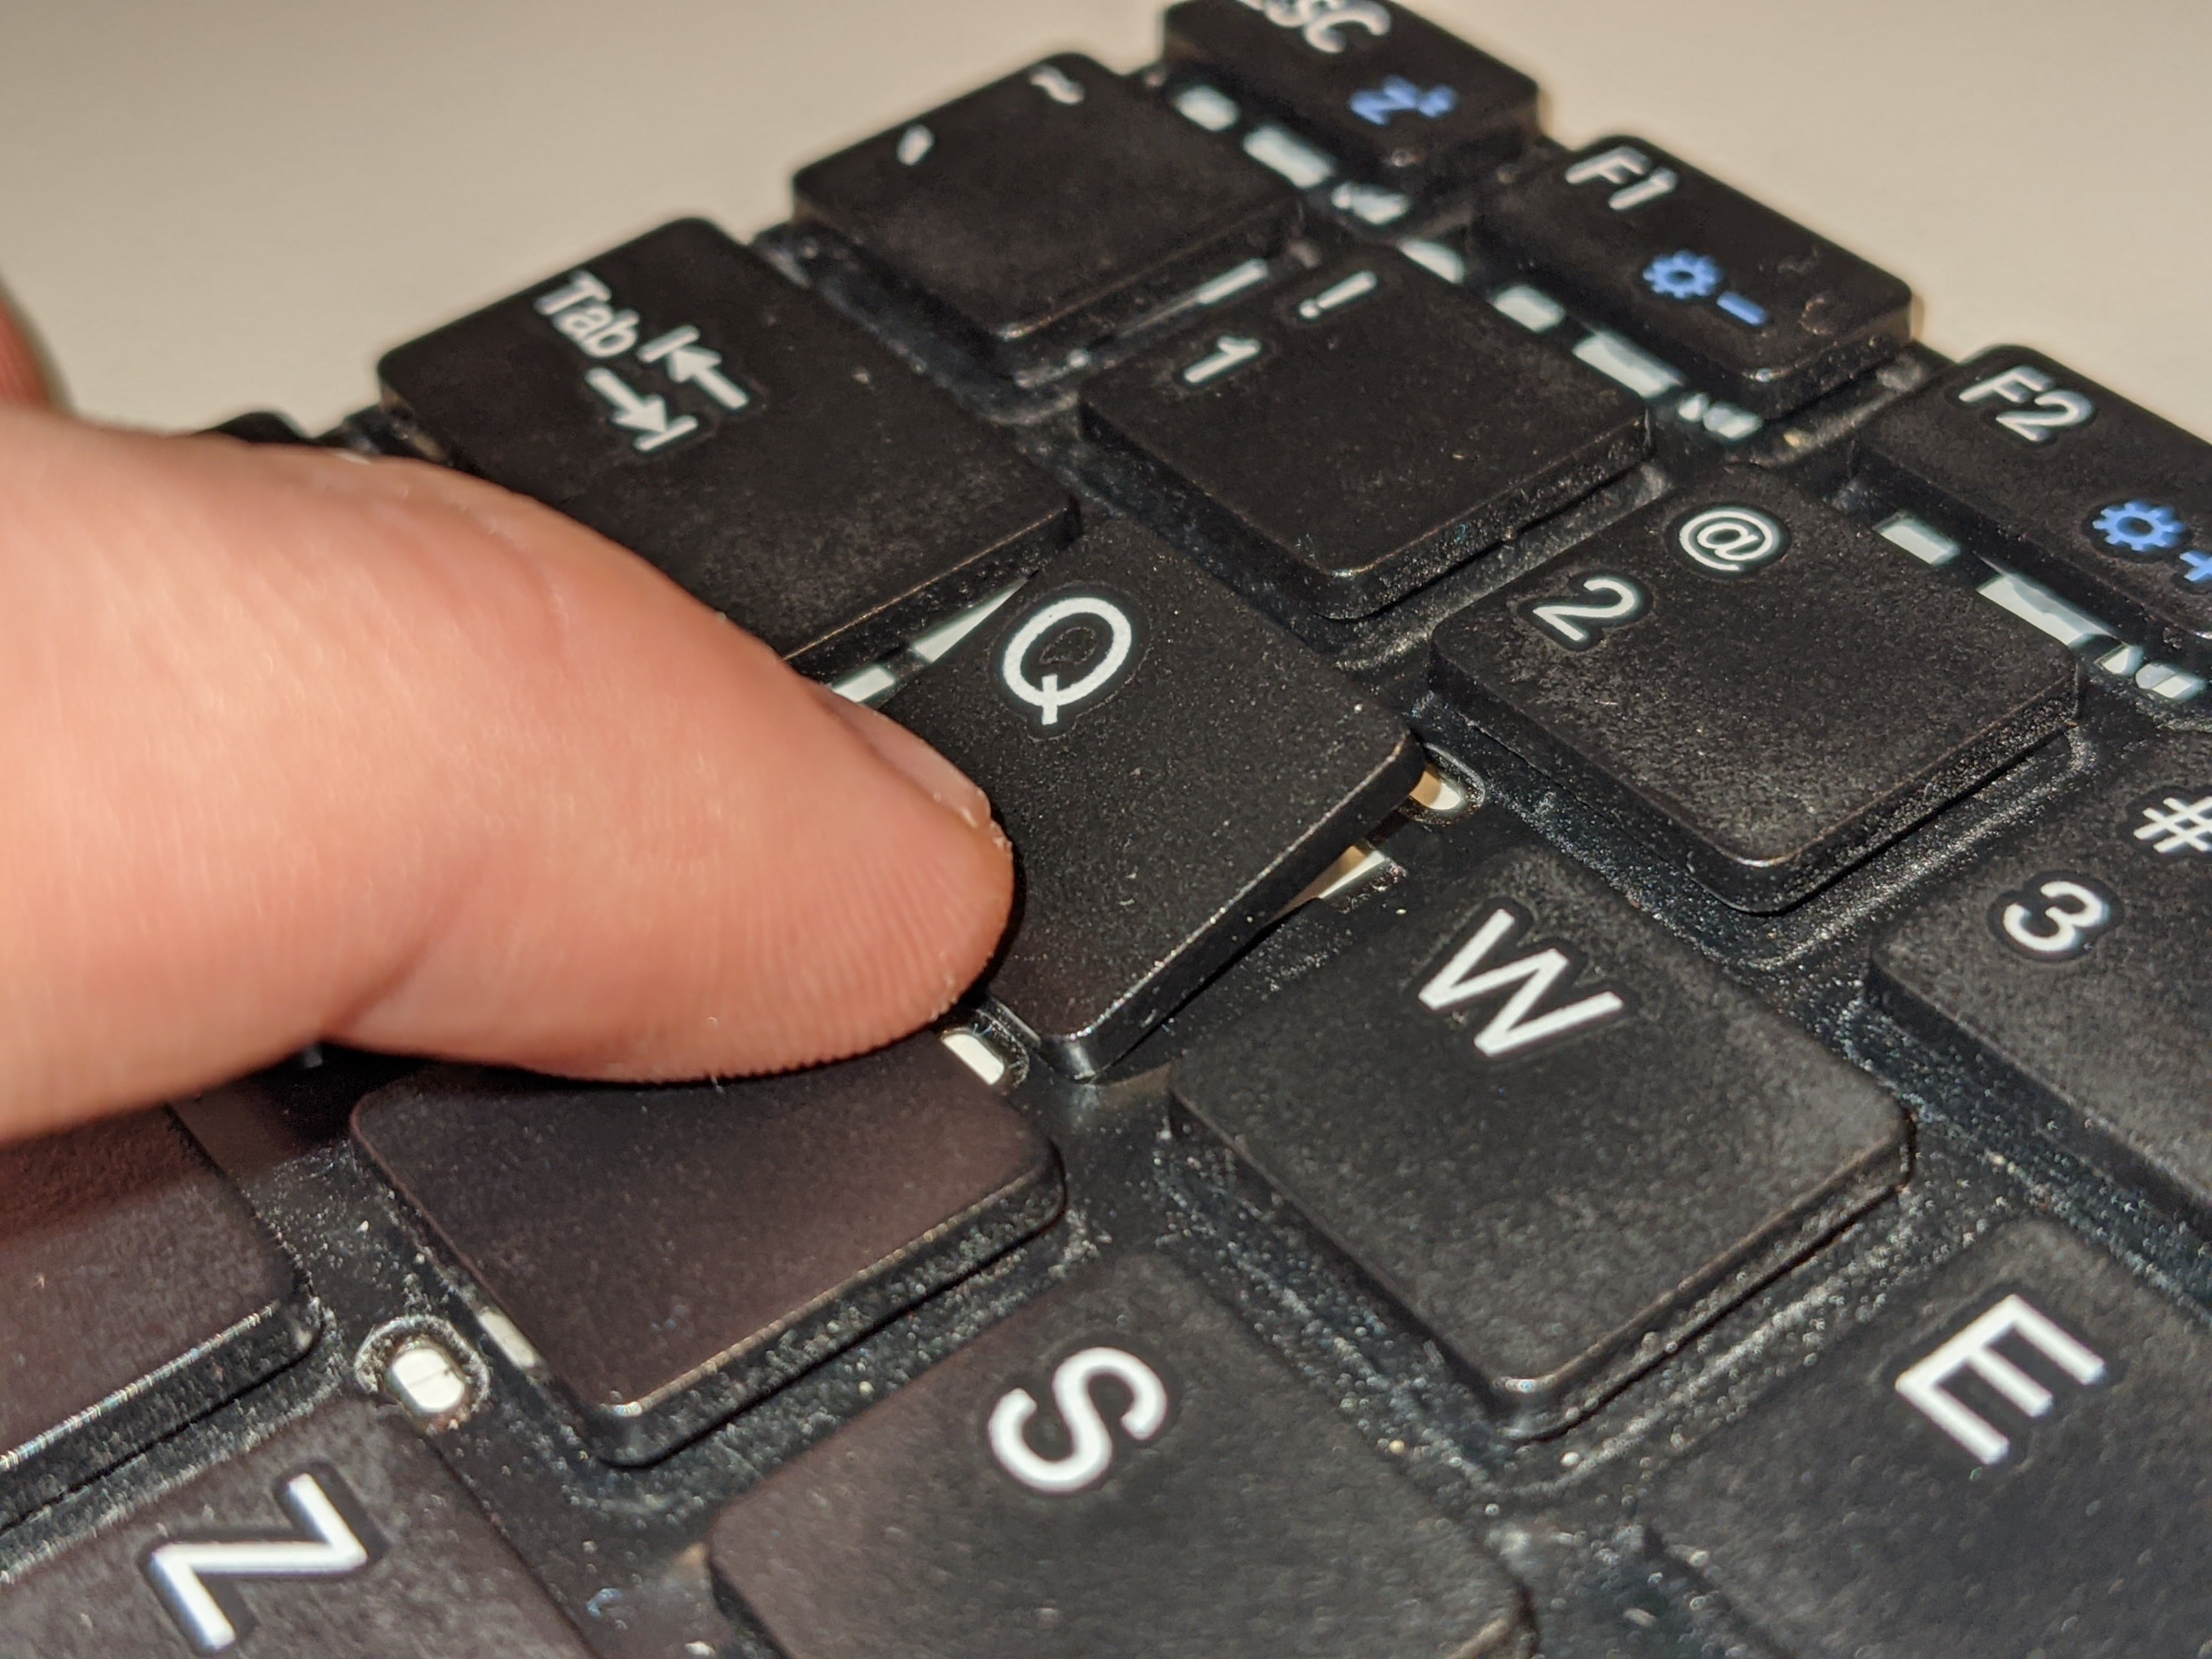
Note that if a key mechanism is damaged, pressing in the upper corners of the key will cause it to dislodge and fall off the keyboard.

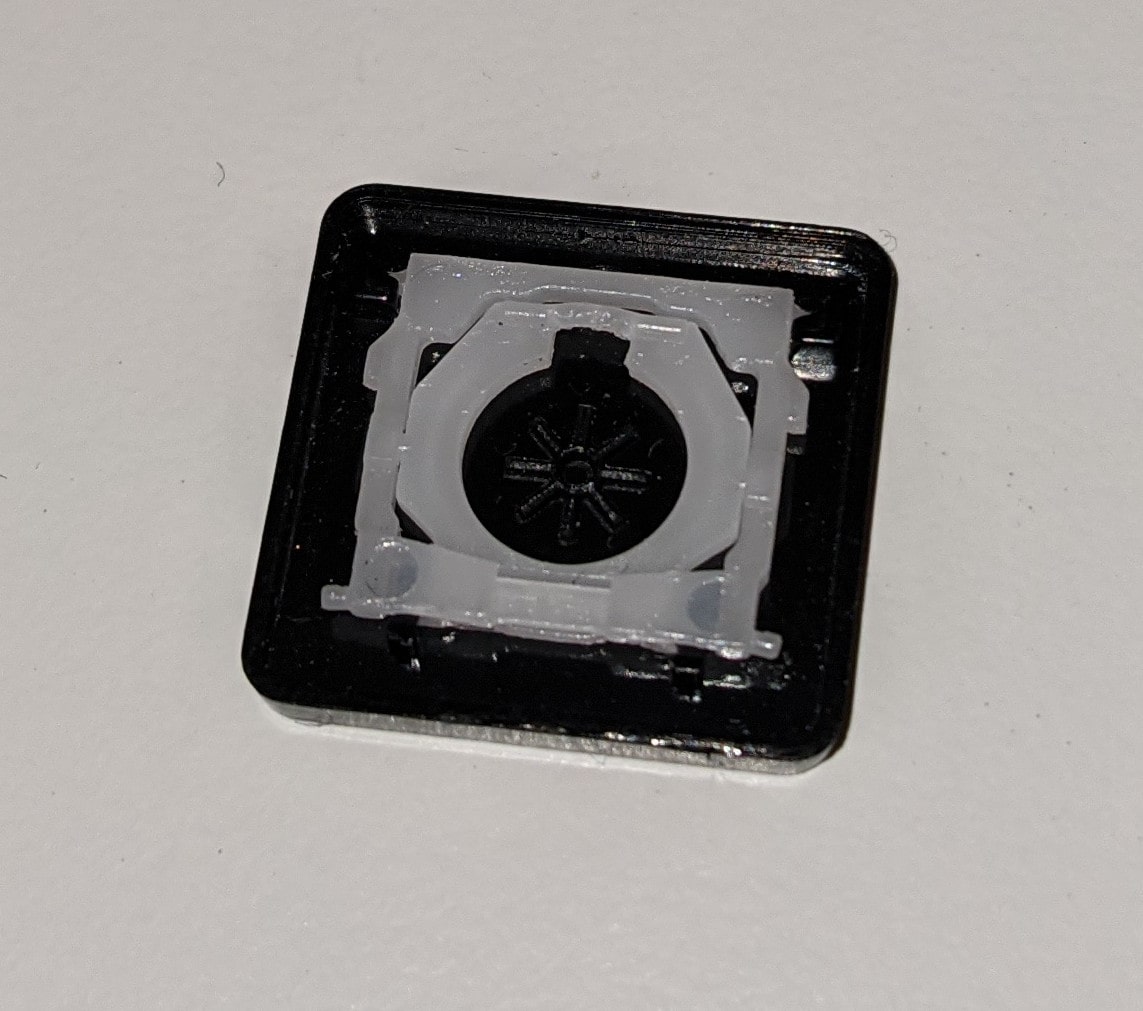
Damaged keys might look like this, note that the pin on the lower right side of the mechanism is slightly deformed and the latch on the upper half of the mechanism is bowed out slightly and cracked. This is enough damage to cause the key to pop out when pressed in the upper corners.


